

HELLO Painting
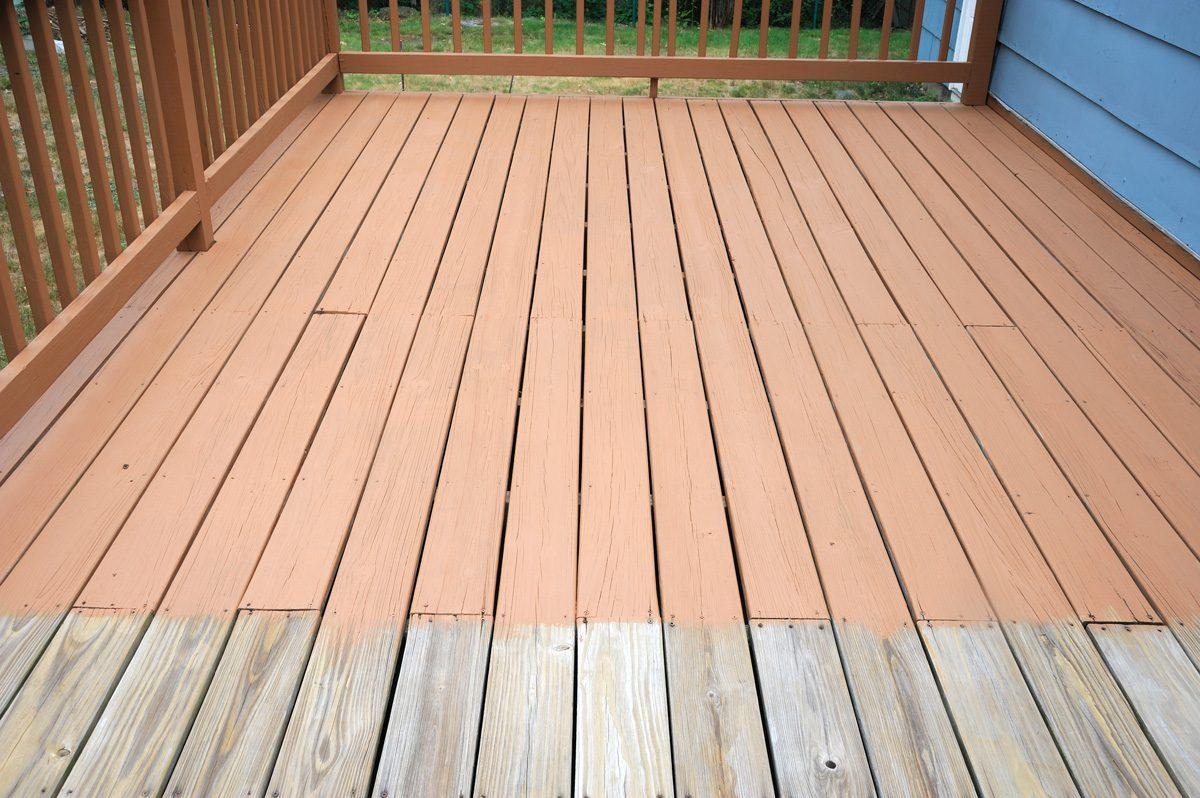
Illustrative stock image — not a photo of HELLO Painting’s actual project.
Introduction
A wood stain finish looks simple when it is done well: warm color, visible grain, and a surface that sheds water evenly. What the eye does not see is the preparation underneath, and that preparation decides almost everything about how the finish looks and how long it lasts. Two decks stained with the same product can age very differently, and the difference is almost always what happened before the stain went on.
Stain is not paint. It soaks into wood rather than sitting on top of it, which means it shows the condition of the wood honestly, flaws included. Professionals such as HELLO Painting who stain decks, fences, and siding know that a rushed preparation stage cannot be rescued by an extra coat later.
This article walks through the preparation steps that matter most: inspection and repair, cleaning, sanding, drying, and testing, plus the common mistakes that shorten the life of an otherwise good stain job.
Inspect and Repair First
Start by walking the whole surface and looking for what stain cannot fix. Loose boards, popped nails, cracked rails, and soft or splintering wood should be repaired or replaced before any finish goes on. Staining over damaged wood seals in the problem and makes it harder to spot later, when a small repair has become a bigger one.
Check how water behaves on the surface. Puddles that linger, boards that stay damp long after rain, and areas where dirt has built up all point to drainage or airflow issues worth addressing. A deck that never dries will not hold any finish well, no matter how carefully it is applied.
Look at previous finishes too. Old stain that is flaking, peeling, or patchy in places will show through a new coat unevenly, and areas with heavy buildup may not absorb new stain at all. Knowing what is already on the wood helps decide whether the surface needs a light clean, a deeper strip, or a thorough sanding.
Cleaning: The Step People Rush
Wood that will be stained needs to be genuinely clean, not just hosed off. Dirt, mildew, algae, and gray weathered fibers all sit between the stain and the wood, and stain applied over them bonds poorly and looks blotchy. A proper wash, with a cleaner suited to exterior wood and a brush where needed, removes that barrier.
Pressure washing can help, but it can also harm. Too much pressure gouges soft wood, raises fibers, and forces water deep into boards that then take far longer to dry. A gentler wash, followed by spot treatment for stubborn areas, is usually the safer route, especially on older or softer wood.
After washing, give the surface a close look once it has dried a little. Mildew staining, dark spots, and remaining gray patches will be visible, and those areas may need another pass. It is far easier to clean again now than to live with a blotchy finish for a season.
Sanding and Drying
Sanding serves two purposes: it smooths rough and splintered areas, and it opens the wood so stain absorbs evenly. A surface that was pressure washed aggressively often needs sanding to remove raised fibers, and previously finished areas may need sanding to even out absorption. The goal is a consistent surface, not a perfectly smooth one, since overly polished wood can actually absorb less stain. For decks, fences, and siding around the home, wood staining for decks and siding should always follow this kind of surface preparation rather than skipping straight to color.
Drying time is just as important and just as often underestimated. Wood that looks dry on top can still be damp inside, especially after washing or a stretch of wet weather. Stain applied to damp wood may not penetrate properly, may dry unevenly, and may trap moisture. Waiting for a run of dry weather, and checking sheltered boards and joints that dry last, is part of the job, not a delay in it.
Sweep and blow the surface clean right before staining. Dust from sanding, pollen, and leaves that settle on a prepared deck will end up embedded in the finish if they are not removed. A few minutes with a broom and a blower saves a finish that would otherwise feel rough underfoot.
Test Before You Commit
Always test the stain on an inconspicuous area, or on a spare board from the same wood, before committing to the whole surface. Color looks different on your wood, in your light, and at your level of absorption than it does on a sample card or a photo. A test patch also shows whether the wood is absorbing evenly or whether some areas need more preparation.
Apply the test the way the full job will be applied, with the same number of coats and the same drying time between them. If the color is too dark, too light, or uneven, that is useful information now, while it is still easy to adjust the approach. Changing products or preparation halfway across a deck is how patchy finishes happen.
Common mistakes to avoid include staining in direct heat, which can dry the product before it penetrates; staining late in the day when dew will settle on a fresh finish; and applying a second coat before the first has had time to absorb and dry. Patience at each stage is what produces an even, natural-looking result.
Work in a steady, methodical way once staining begins. Stain one board at a time from end to end, rather than stopping halfway across a board, so lap marks do not show where wet stain met drying stain. Keep a wet edge as you move across the surface, and brush out any puddles or heavy spots before they dry, since excess stain that sits on the surface can peel or feel tacky instead of soaking in evenly. If you are working with a helper, one person can apply while the other follows behind to even out the coat, which keeps the pace consistent across a large deck.
Conclusion
Good wood staining is mostly good preparation: repair what is damaged, clean thoroughly, sand for even absorption, let the wood dry properly, and test the color before you commit. None of those steps is glamorous, and all of them are visible in the finished result, for better or worse.
If your deck, fence, or siding is due for stain, judge the project by its preparation plan, not just its color choices. A careful, unhurried preparation stage is the best sign that the finish will look the way you want it to and hold up the way it should.